Siser Heat Transfer Vinyl (HTV) offers a versatile and user-friendly way to create custom designs on fabrics, bags, and more. These step-by-step instructions guide you through preparation, application, and troubleshooting for professional results. Whether using a heat press or a home iron, Siser HTV ensures durability and vibrant finishes, making it perfect for crafters and professionals alike. Follow these comprehensive guidelines to achieve flawless applications every time.
Overview of Siser Heat Transfer Vinyl
Siser Heat Transfer Vinyl (HTV) is a highly popular choice among crafters and professionals for creating custom designs on fabrics, bags, and other materials. Known for its ease of use, durability, and vibrant finishes, Siser HTV offers a wide range of options to suit various projects. The vinyl is available in different types, such as Siser EasyWeed, EasyWeed Stretch, and Glitter, each designed for specific applications. EasyWeed, for instance, is ideal for standard fabrics, while EasyWeed Stretch is perfect for stretchy materials like sportswear. Siser HTV is compatible with both heat presses and home irons, making it accessible to everyone. The vinyl is cut using a cutting machine, and excess material is removed with weeding tools. Once applied, it adheres firmly to the surface, ensuring long-lasting results. Whether you’re making personalized apparel, accessories, or home decor, Siser HTV provides a versatile and reliable solution for bringing your creative ideas to life. Its high-quality performance and extensive color options make it a favorite in the crafting community.
Importance of Following Manufacturer Guidelines
Following the manufacturer’s guidelines for Siser Heat Transfer Vinyl (HTV) is essential to ensure optimal results and longevity of your designs. Proper application techniques, temperature settings, and pressure levels are critical to achieving a durable and professional finish. Deviating from these instructions can lead to issues such as lifted areas, uneven adhesion, or damaged vinyl. Siser recommends pre-testing fabrics before production to account for material variances, as different fabrics may require adjusted settings. Using the correct tools, such as the Siser EasyWeeder for weeding, and applying the appropriate cover sheet during pressing is also crucial. Ignoring these steps can result in subpar outcomes, requiring rework or replacement. By adhering to the guidelines, crafters and professionals can avoid common pitfalls and achieve consistent, high-quality results. Siser provides detailed resources, including temperature and time charts, to help users maximize the performance of their HTV. Following these instructions ensures your designs look vibrant and last for years to come.

Step-by-Step Application Guide
Mastering the application of Siser HTV involves a few key steps. Start by preparing your workspace and tools, then cut and weed your design. Preheat the garment, apply the vinyl using a heat press or home iron, and ensure proper pressure and temperature for a lasting finish. Follow these steps for professional results every time.
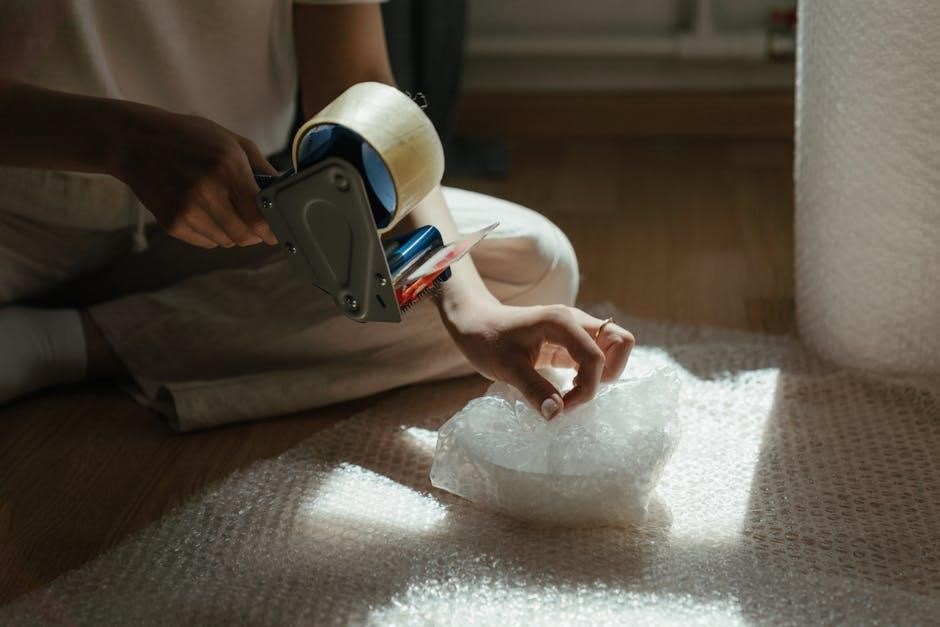
Preparing Your Workspace and Tools

To ensure a smooth application process, start by setting up your workspace. Place your heat press on a flat, sturdy surface, away from flammable materials. Gather essential tools like a weeding tool, scissors, cutting mat, and parchment paper or a heat transfer cover sheet. Cover your work surface with a heat-resistant material to protect it from accidental heat exposure.
Preheat your garment by placing it on the heat press for 2-3 seconds to remove moisture and flatten fibers; If using a home iron, ensure it is set to the correct temperature (usually between cotton and linen settings) and free of water. Having all tools and materials ready will streamline the cutting, weeding, and application process, ensuring professional results with your Siser HTV.

Cutting and Weeding the Vinyl
Cutting and weeding are crucial steps in the Siser HTV application process. Begin by loading your design onto your cutting machine, ensuring the vinyl is placed with the carrier side down. Cut the design in reverse (mirror image) to ensure proper alignment during application. Use a cutting mat and appropriate blade settings for the type of vinyl you’re working with, such as Siser EasyWeed or EasyWeed Stretch.
After cutting, carefully remove the excess vinyl using a weeding tool or scraper. For intricate designs, a fine-tip weeding tool is ideal for precision. Once the design is fully weeded, it’s ready for application. Ensure the carrier sheet remains intact, as it protects the vinyl during the heat press process. Proper cutting and weeding ensure a clean, professional finish, making this step essential for achieving vibrant and durable results with your Siser HTV.
Preheating the Garment
Preheating the garment is a critical step before applying Siser HTV. This process ensures the fabric is ready to bond with the vinyl by removing any moisture and opening up the fibers. Set your heat press to the recommended temperature, typically around 300°F (150°C), and place the garment on the press. Apply light pressure for 2-3 seconds to preheat the area where the design will be applied. This step is essential for achieving a strong bond and preventing air bubbles or uneven adhesion.

For optimal results, ensure the garment is dry and free of wrinkles before preheating. If using a home iron, preheat the fabric for 5 seconds on the cotton setting without steam. Avoid scorching the fabric, as this can damage the material. Proper preheating ensures the Siser HTV adheres smoothly and lasts longer. Always refer to the specific temperature and time guidelines for the type of vinyl you’re using, such as Siser EasyWeed or EasyWeed Stretch, to achieve the best outcome.
Applying the Design with a Heat Press
Applying your Siser HTV design with a heat press is a precise process that requires attention to temperature, pressure, and timing. Begin by placing the preheated garment on the heat press, ensuring the design is centered and the carrier side is face down. Set the heat press to the recommended temperature, typically 305°F (150°C) for Siser EasyWeed, and apply medium-firm pressure. Close the press gently but firmly to avoid shifting the vinyl.
Press the design for 10-15 seconds, depending on the type of HTV you’re using. For specialty vinyl like Siser Glitter or Glow-in-the-Dark, reduce the time to 15 seconds or as specified. Once the timer goes off, carefully open the press and allow the garment to cool slightly before handling. If areas lift, cover the design with a heat transfer cover sheet and press for an additional 5-10 seconds. Avoid over-pressing, as this can damage the vinyl or fabric. Proper application ensures a durable, long-lasting finish. For best results, follow the specific guidelines for your Siser HTV type to achieve a professional-quality finish.

Using a Home Iron for Application
While a heat press is ideal for applying Siser HTV, a home iron can achieve professional results with careful execution. Begin by preheating the garment for 5 seconds to remove moisture and flatten fibers. Place the design on the fabric with the carrier side up, ensuring it is centered and smooth. Cover the vinyl with a heat transfer cover sheet, parchment paper, or multipurpose paper to protect it from direct heat.

Set your iron to the highest temperature setting (usually cotton or linen) without steam. Firmly press the iron over the design, applying consistent pressure for 10-15 seconds. Move the iron slowly across the entire area to ensure even heat distribution. If using Siser EasyWeed Stretch, reduce pressure slightly to accommodate the material’s flexibility. Allow the garment to cool before handling. If areas lift after application, cover and press for an additional 5-10 seconds. Avoid using steam, as it can damage the vinyl or fabric. For best results, test the iron temperature on a scrap piece of fabric first to ensure optimal adhesion. This method is perfect for small projects or when a heat press is unavailable.

Troubleshooting Common Issues
Common issues with Siser HTV include lifted areas, improper adhesion, or uneven application. To address these, ensure proper temperature, pressure, and time settings. For lifted areas, cover and re-press for 5-10 seconds. Always test fabric compatibility beforehand to avoid issues.
Addressing Lifted Areas and Re-Pressing
If areas of your Siser HTV design lift after application, it’s important to address this promptly. Cover the affected area with a heat transfer cover sheet, parchment paper, or multipurpose paper. Re-press using the same temperature and pressure settings for an additional 5-10 seconds. This ensures proper adhesion and prevents further lifting. For persistent issues, check your heat press calibration and fabric compatibility. Testing on a scrap piece of fabric beforehand can help identify potential problems. Always follow Siser’s guidelines for specific vinyl types, such as EasyWeed Stretch, which requires firm, even pressure. Proper techniques and materials, like a heat transfer cover sheet, are key to achieving a professional finish. By addressing lifted areas quickly and correctly, you can maintain the durability and appearance of your designs.